How to install wheel lights
Bike with lights on wheels are a great way to add some flair and visibility. They are LED lights that attach to the spokes or the rim of your wheel and create colorful patterns when you ride. Wheel lights can make your bike look cool, improve your safety at night, and impress your friends. In this post, we will show you how to install lights on your bike wheels in a few easy steps.
What You Need
Before you start, you will need the following items:
- A set of wheel lights: There are many types and brands of wheel lights available online or in bike shops. Bike wheel lights are powered by batteries, rechargeable batteries, or solar power. Some of them have different modes and colors, while others are fixed. Some of them are controlled by an app, while others have a remote or a switch. Choose the one that suits your budget, preference, and bike size. For example, you can check out these lights that have double row LEDs, chase moving signal and brake function, and wireless control.
- A screwdriver or a wrench: Depending on the type of lights you have, you may need a screwdriver or a wrench to attach them to your bike wheel. Make sure you have the right size and type of tool for your bike wheel lights.
- A pair of scissors or a wire cutter: If your lights have excess wires or straps, you may need to cut them off for a neat and secure installation.
- Zip ties or tape: These are optional, but they can help you secure the wires or straps of your lights to your bike frame or spokes.
Step 1: Remove the Wheel
The first step is to remove the wheel from your bike. This will make it easier to install the lights and avoid damaging your bike or yourself. To remove the wheel, you will need to loosen the nuts or quick-release levers that hold the axle to the frame. Then, lift the wheel out of the frame and set it aside on a flat surface.
Step 2: Attach the Wheel Lights
The next step is to attach the lights to your wheel. Depending on the type of bike wheel lights you have, you may need to follow different instructions. Here are some general guidelines:
- If your lights are ring-shaped, you will need to mount them on the dust shield or hub assembly of your wheel. You can use the screws or brackets that come with your lights to secure them in place. Put the wheels in the center and align them with your wheel.
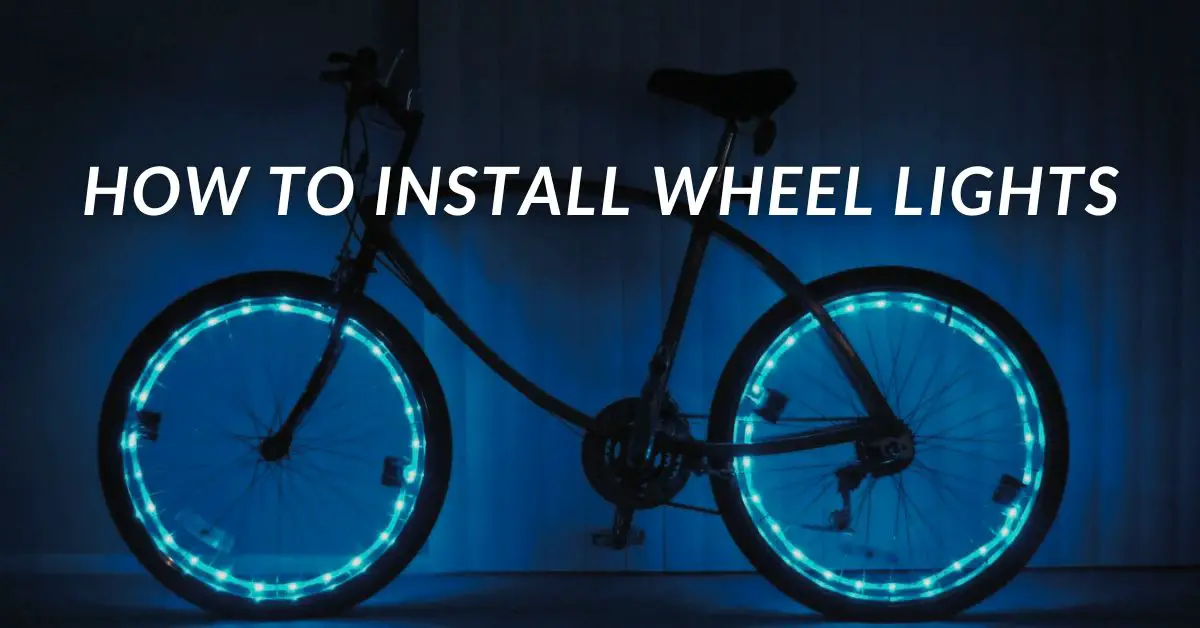
- To install tube-shaped lights on your wheel, insert them into the spokes. You can use the clips or hooks that come with your lights to attach them to the spokes. Evenly space and balance the lights on your wheel.
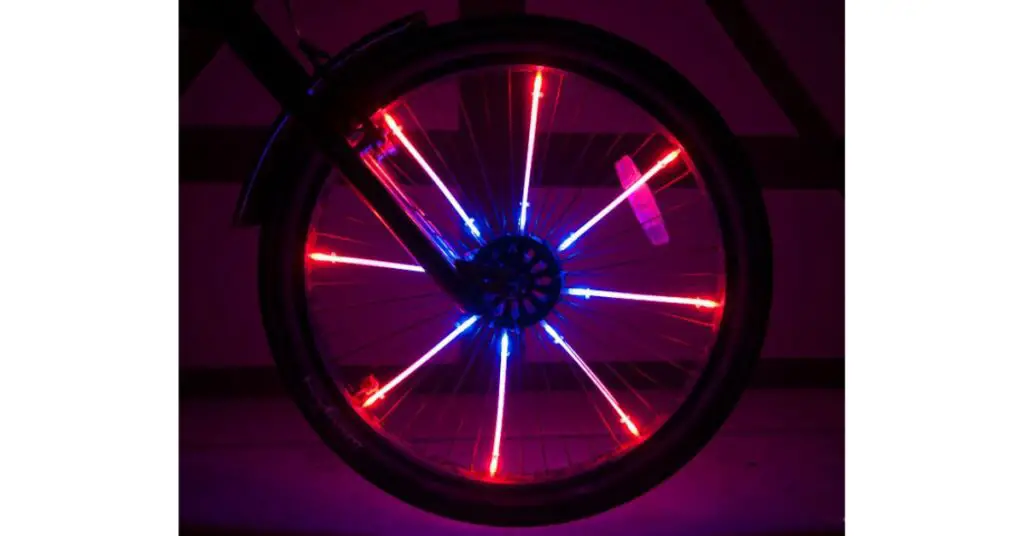
- Stick strip-shaped lights on the rim of your wheel. You can use the adhesive tape that comes with your lights to attach them to the rim. Make sure they are straight and smooth on your wheel.
Read more from Bicycle Ninjaa: best cycling glasses for wind protection
Step 3: Connect the Battery Pack
The third step is to connect the battery pack of your lights to a power source. Depending on the type of bike wheel lights you have, you may need to follow different instructions. Here are some general guidelines:
- If your bike wheel lights are battery-powered, you will need to insert batteries into the battery pack and turn it on. You can use zip ties or tape to secure the battery pack to your bike frame or spokes.
- If your bike wheel lights are rechargeable, you will need to charge them before using them. You can use a USB cable or a wall adapter to charge them from a power outlet or a computer. You can use zip ties or tape to secure the battery pack to your bike frame or spokes.
- If your bike wheel lights are solar-powered, you will need to expose them to sunlight before using them. You can use zip ties or tape to secure the solar panel to your bike frame or spokes.
Step 4: Test the Lights on wheels
The final step is to test the lights and enjoy them. Depending on the type of lights you have, you may need to follow different instructions. Here are some general guidelines:
- If your lights have an app, you will need to download it on your smartphone and pair it with your bike lights via Bluetooth. You can use the app to control the colors, modes, brightness, speed, and patterns of your lights.
- If your bike with lights have a remote or a switch, you will need to use it to control the colors, modes, brightness, speed, and patterns of your lights.
- If your bike lights have no control option, they will automatically turn on when you ride and change colors or modes randomly.
To test the bike wheel lights, you will need to put the wheel back on your bike and tighten the nuts or quick-release levers. Then, you can ride your bike and see how the bike wheel lights look and work. You can adjust the settings or position of your lights as needed.
Conclusion
Wheel lights are a fun and easy way to customize your bike and make it stand out. They are also useful for increasing your visibility and safety at night. Bike with lights on wheels are also a very fun way to amuse yourself and your child. By following these simple steps, you can install lights on your bike in no time.
We hope you found this post helpful and informative. If you have any questions or comments, please feel free to leave them below. Happy riding!